Bokashi is actually really easy.
But the first bucket or two you do often feels quite strange. It’s not natural for us to squirrel away food waste in a bucket in the kitchen, and we’re trained to think bacteria is risky and any rubbish in the kitchen should be removed immediately, before it starts to stink.
Then after a couple of buckets, your whole world changes. Food waste is not “rubbish” any more, it’s the best resource you have in the kitchen.
And microorganisms become your new best friends. In the kitchen, and out in the garden. Woohoo!
So, what should you expect when you start with bokashi?
Give it time. Maybe the first bucket or two aren’t perfect, maybe you don’t quite get it right. But after a couple of buckets you’re an expert and will get it right every time. Don’t overthink it, this is just food waste, right? It will ALWAYS be good soil in the end, even if you mismanage a bucket or two and they smell more than they should. No big deal.
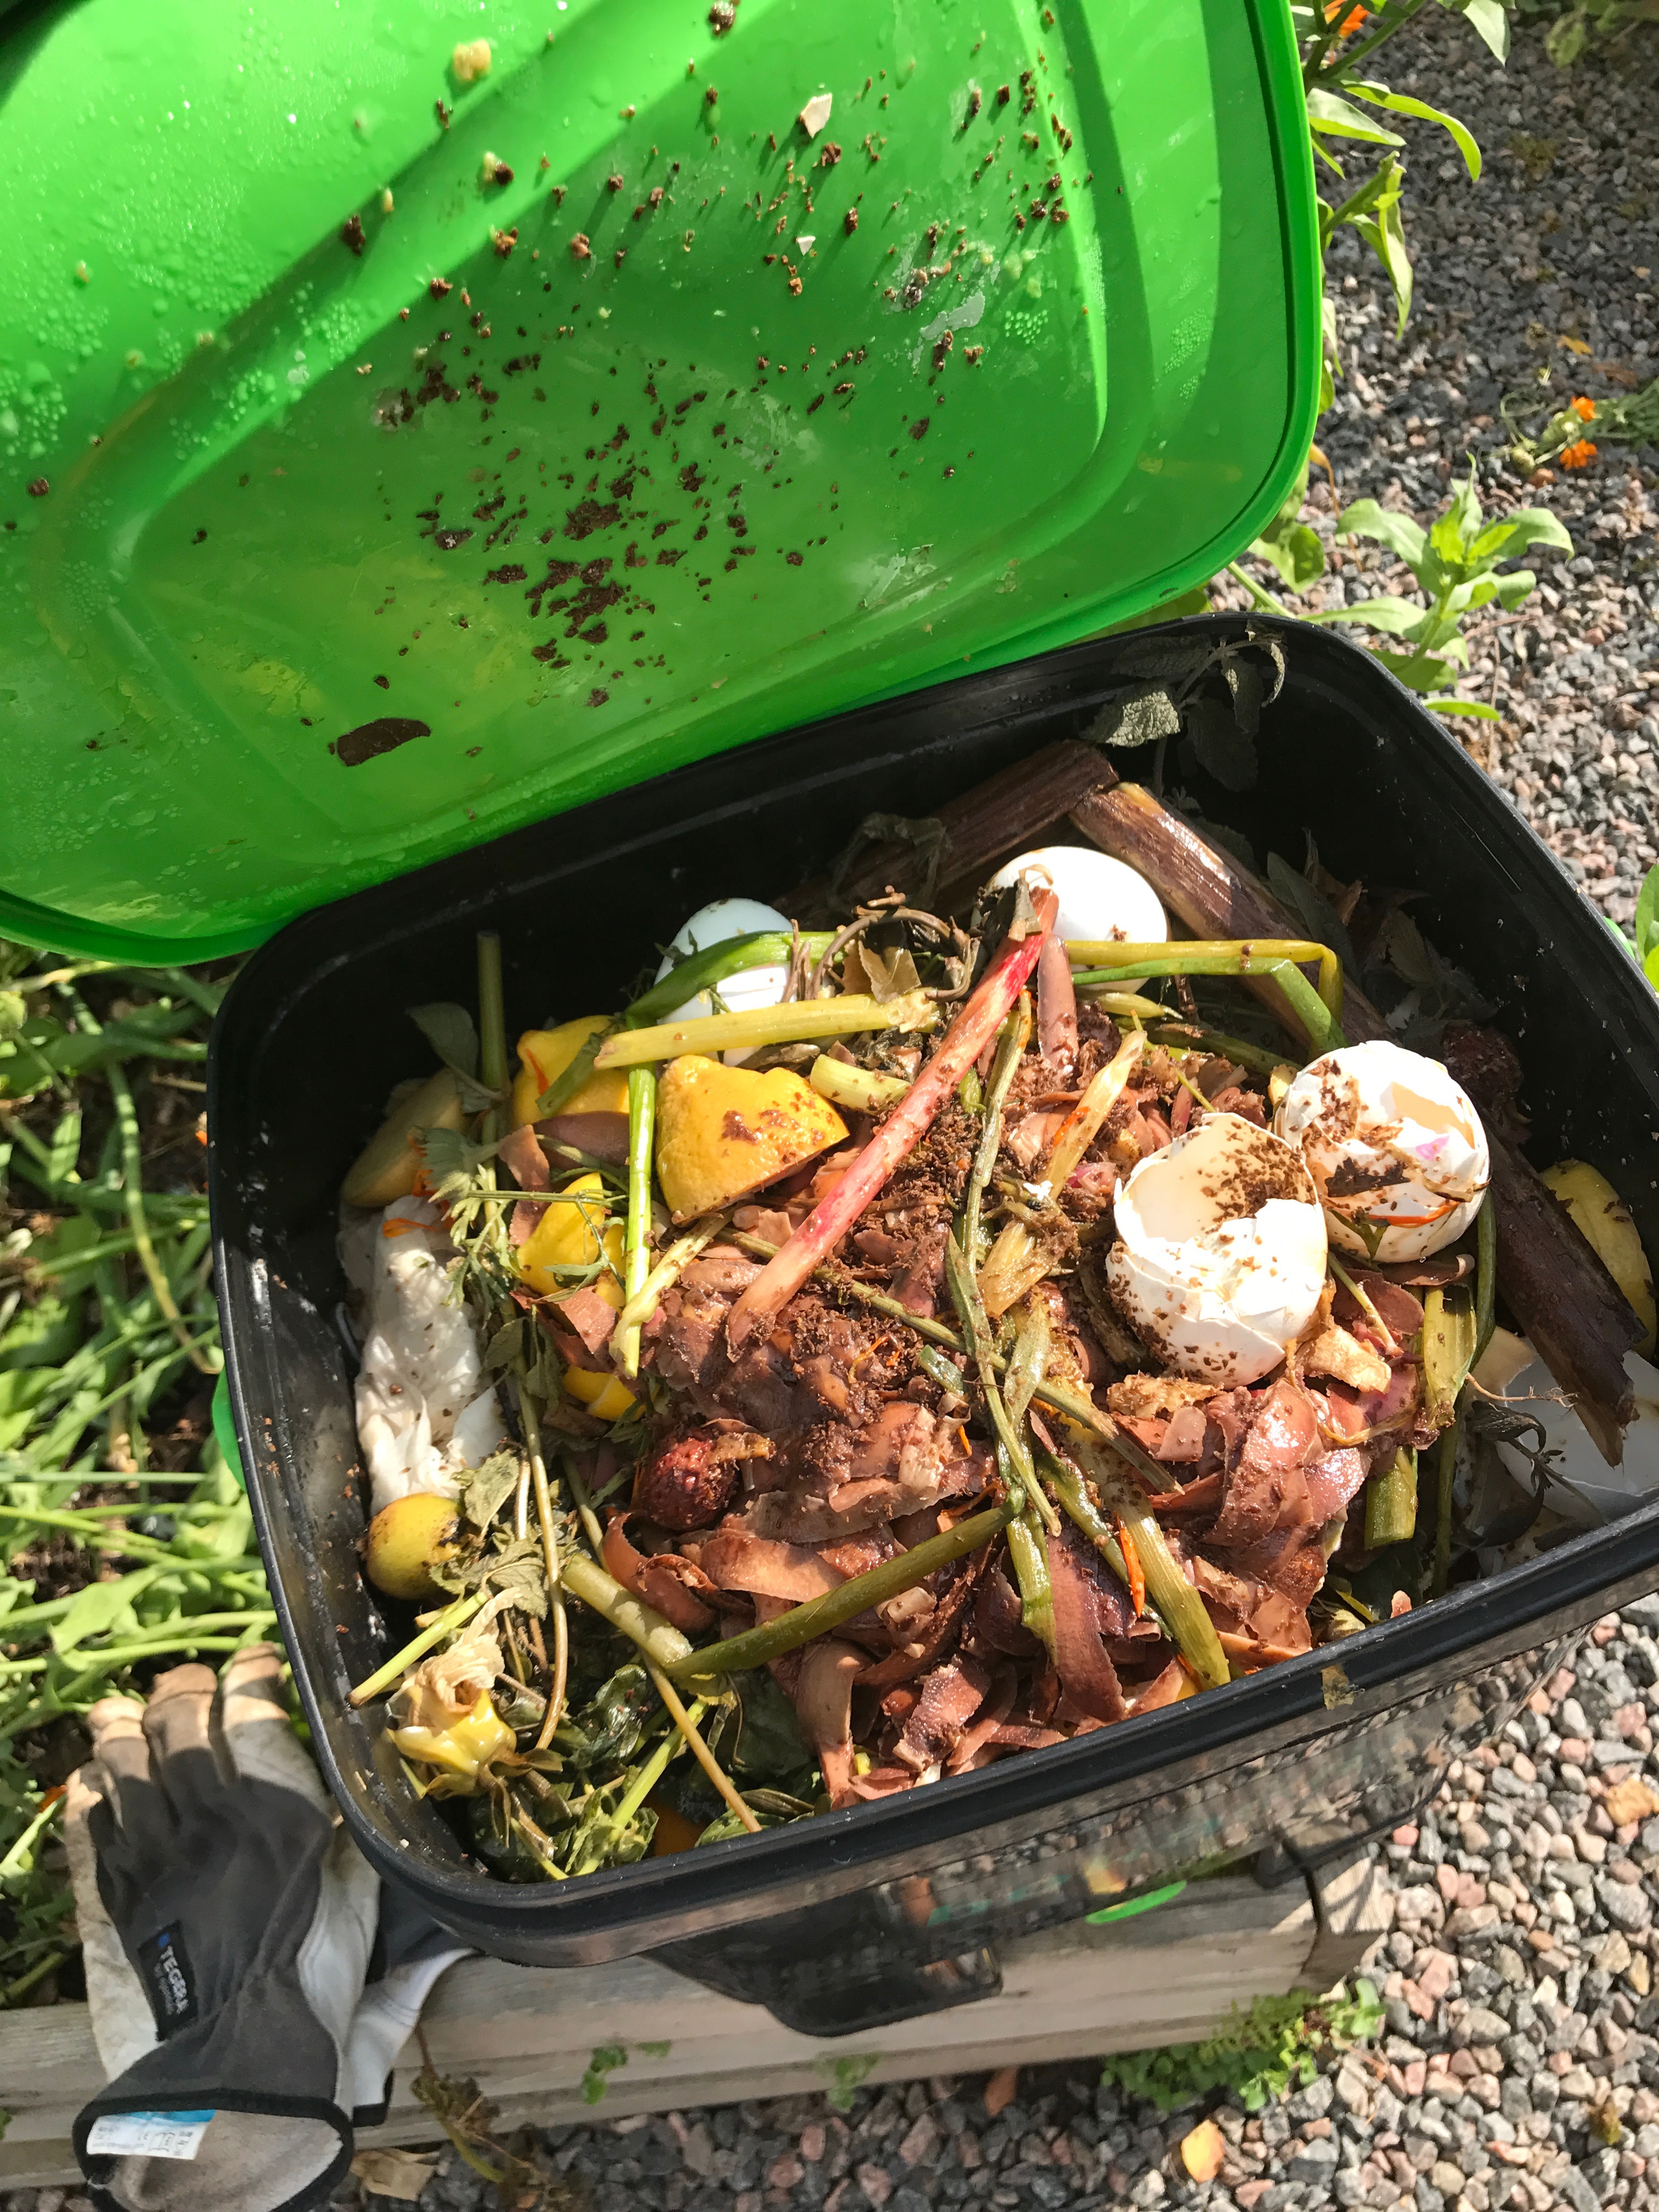
Don’t expect that you’ll get soil in the bucket! We’ve all thought that at some stage, but this is not how bokashi works. Fermentation is a kind of conserving process (think sauerkraut or any other kind of fermented veggies). Your food waste will be preserved in its bucket, and even after a few weeks it will still look pretty much the same. I admit, it is a bit weird that you can recognize the leftovers of that lunch you had when the family was over, or that time you made juice and the bucket filled up with orange peel. But that’s just the way it is.
Bokashi is a two-step process. The first step takes place in the bucket: it’s a fermentation process, needs to be airtight, and there won’t be much to see (the changes are all happening at protein level.) The second step takes place when you dig the bokashi down into the soil. Then the soil microbes meet the fermentation microbes and a transformation process begins. The bokashi is essentially absorbed into the soil. It happens quickly and easily because of all the (invisible to us) pre-work that’s been done in the bucket. A few weeks usually, depending on your soil temperature.
I’ve written a lot elsewhere about WHY we do bokashi, about the importance of getting carbon into the soil and creating great soil for growing plants in. But the joy of seeing this happening is really something. So, just hop in and do it!
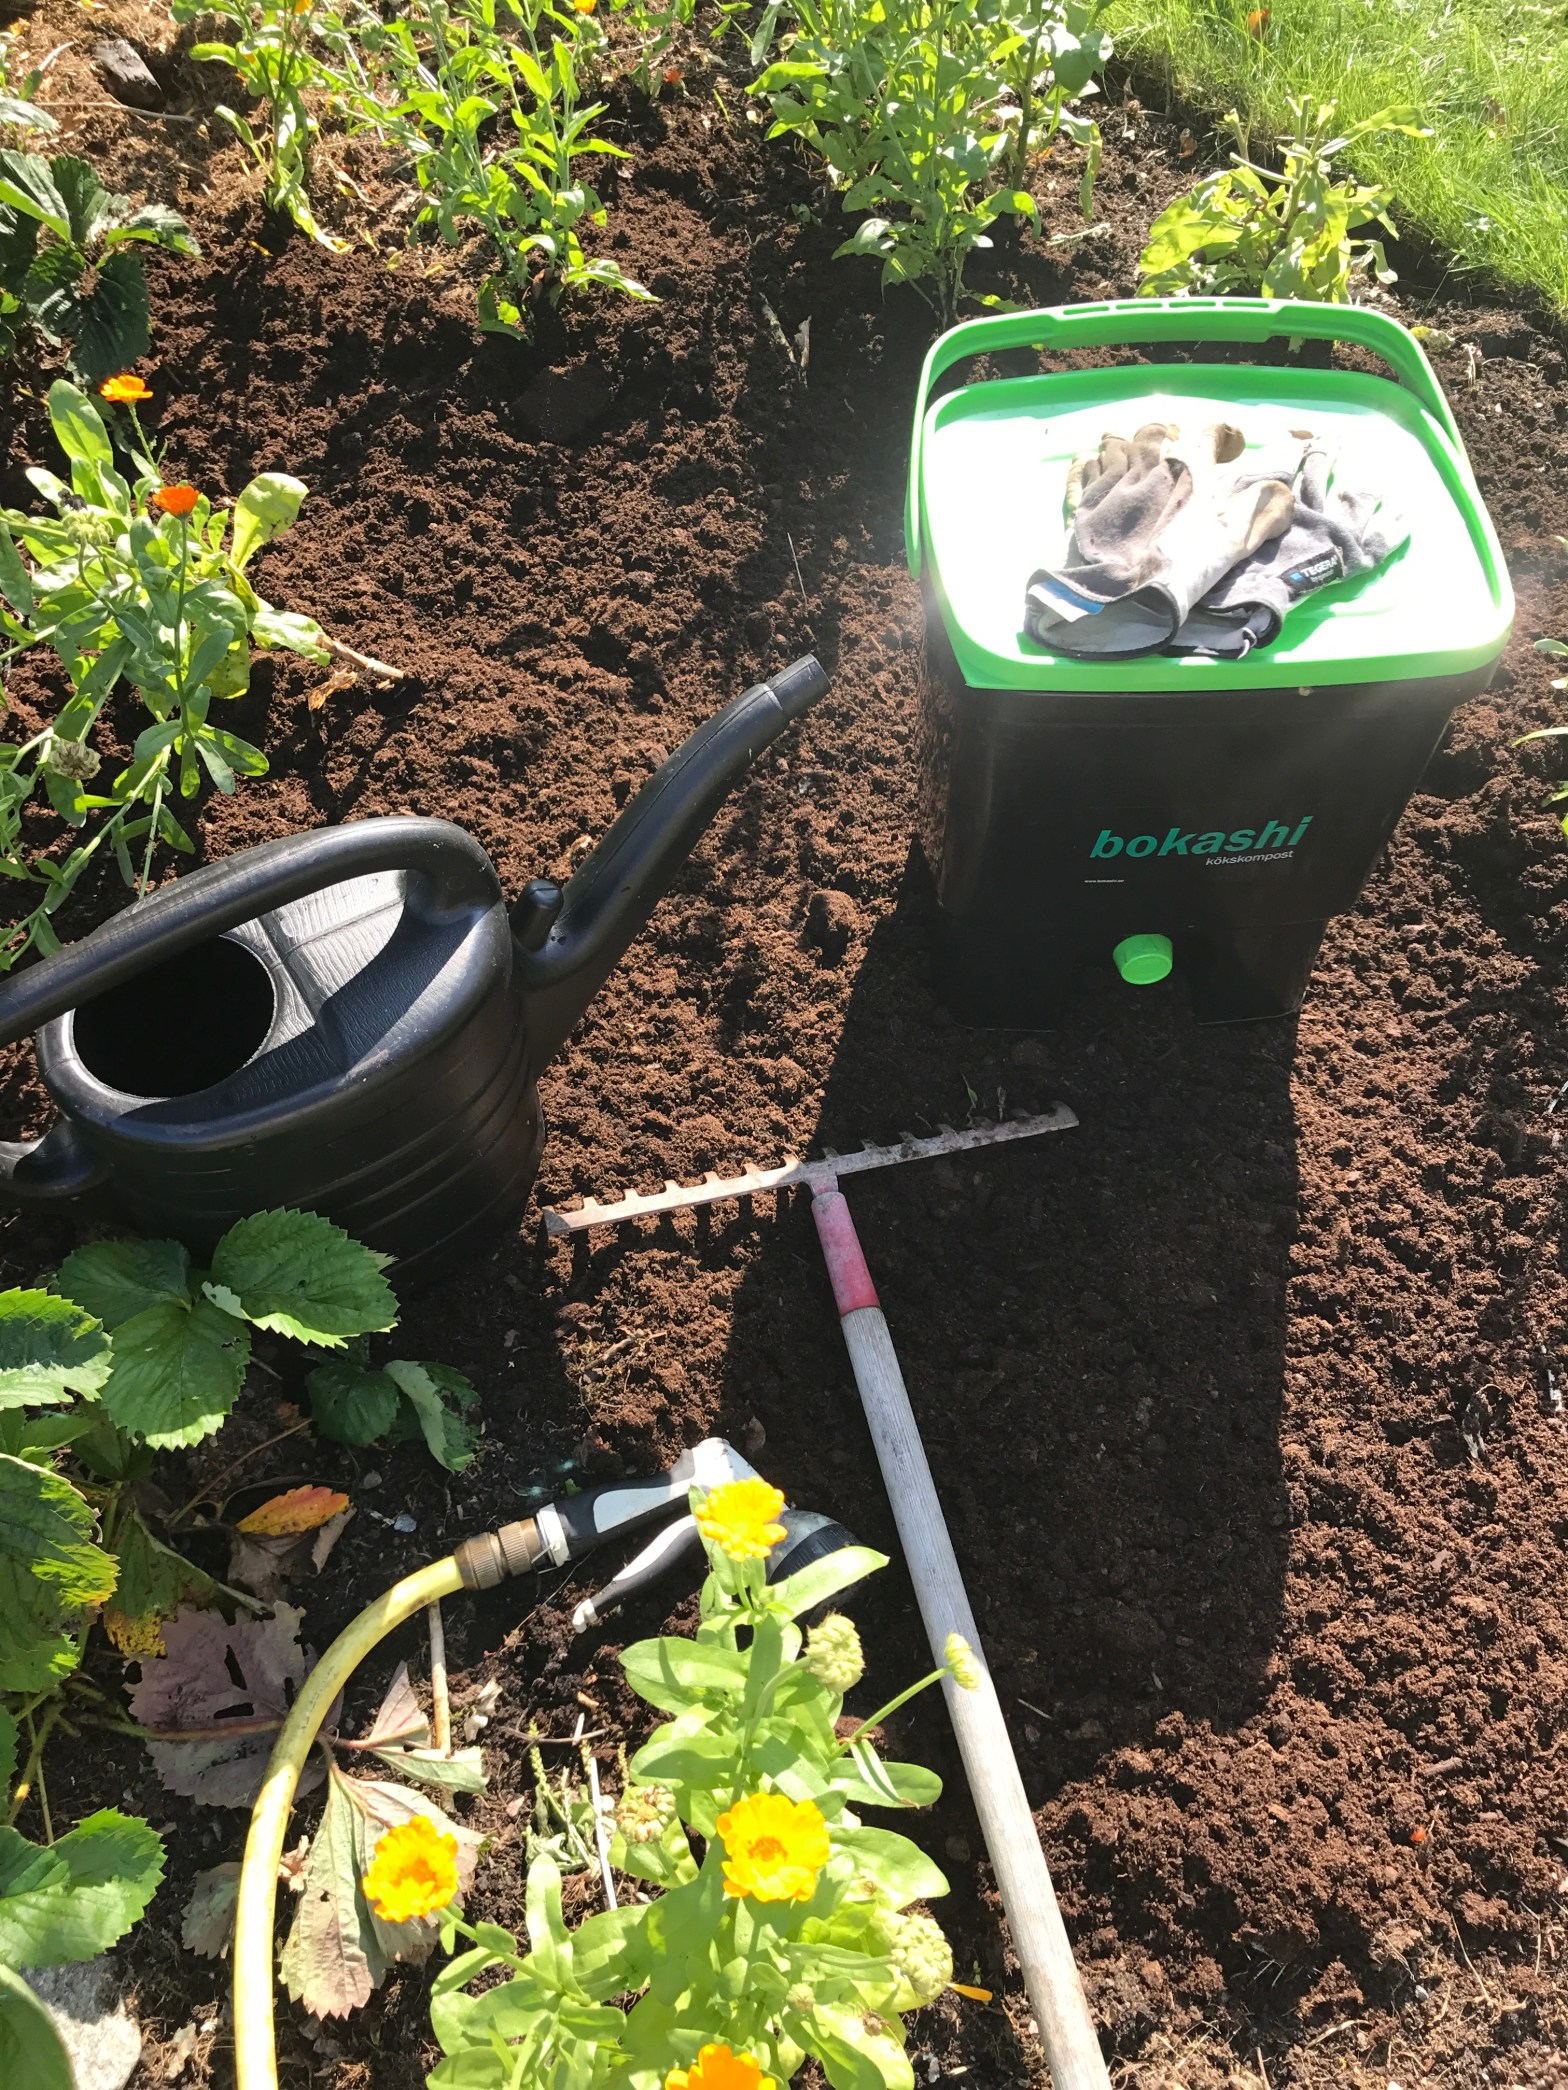
Right. So you’ve filled your bokashi bucket in the kitchen. There are many types of buckets, each country has a different style. In Europe, we typically have 16 liter buckets with a tap, in New Zealand it’s more common with a double bucket with drainage holes in the internal bucket. Either way the concept is the same.
You can also use “normal” buckets without drainage, these work just as well and you can usually get them free. But it’s essential to take up the moisture, some form of charcoal (chemical-free) is the best, newspaper or wood pellets also work well.
So, with bokashi there’s only two real rules, and if something is going to go wrong it will generally be one of these two:
- An airtight bucket is really important. Bokashi fermentation is an anaerobic process so you need a good lid. If you don’t the food waste will probably start to rot.
- Too much humidity in the bucket will make it smell. No worries really, as your bokashi will still make great soil. But a bit unpleasant. Make sure you drain the bin of liquid regularly. And if there’s a lot of condensation, lay a newspaper or egg carton on top to absorb it.
You’re going to need two buckets so you can rotate them. After each bucket is filled (typically takes a week or ten days for a small family, but can be anything up to a couple of months) it needs to be put aside for a couple of weeks while you fill the other. This allows the microbes to continue doing their fermentation work. After that, the bucket is “stable”, you can dig it down, make a soil factory, store it as it is for a few months. Whatever works best for you. Bigger families often need three or four buckets to cope with their bigger volumes.
Sometimes you’ll get a white fluffy mould in your bucket. That’s fine. Usually just means your bucket has been standing for a while. Or that it’s not super airtight (but tight enough to do the job). It’s just living microorganisms doing their thing, and nothing to worry about. If you get a batch of green, black or blue mould however, that’s another story. Scrape it away and get rid of it; if it’s gone through the whole bucket, sorry, but you’ll have to ditch that batch. Usually it’s caused by too much moisture in the bucket.

While you’re filling your bucket and while it’s “on hold”, it will produce plenty of bokashi liquid. How much depends obviously on what you have in your bucket. But it’s great stuff, the garden loves it as it’s a real nutrient boost. Drain it off regularly, preferably into a plastic bottle with lid (the less air the better), and use fairly quickly in the garden. Dilute 1:100. That’s 1 deciliter in a 10 liter watering can.
If you’re not going to use it immediately, put the bottle in the fridge. And if it’s going to really be a while you can freeze the liquid. Ice-cube bags aren’t so silly — as long as you label them!
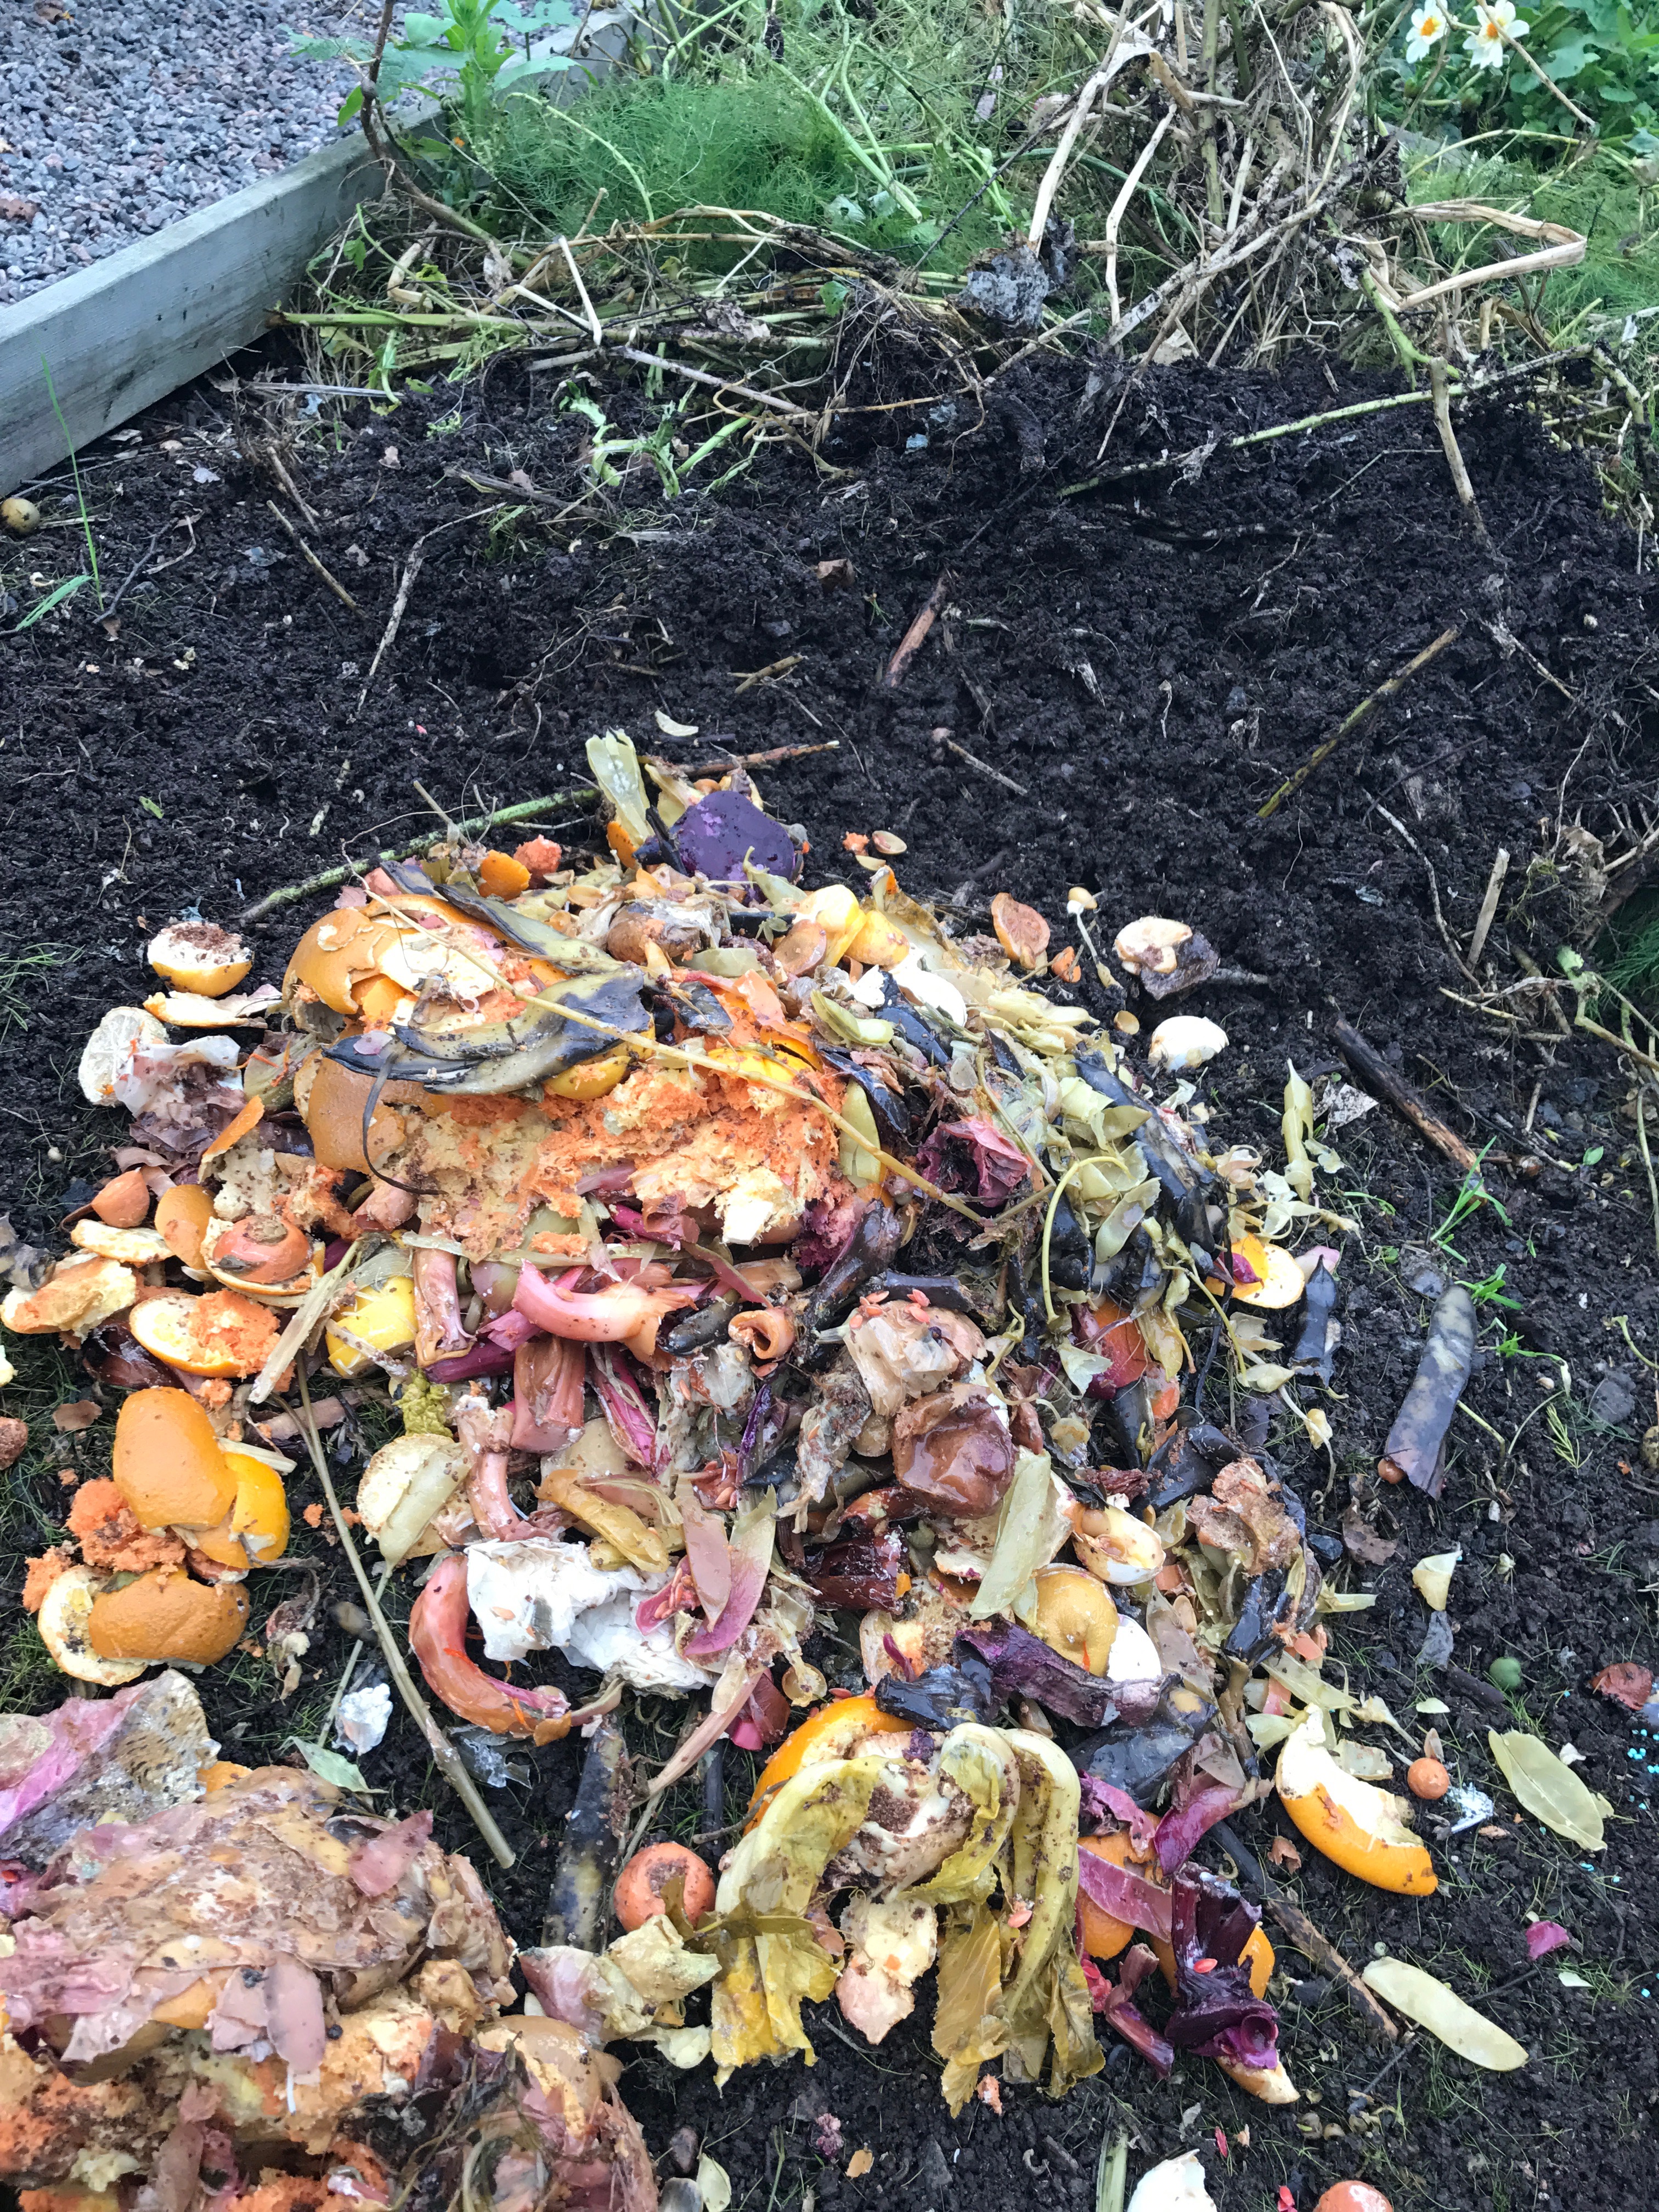
Then it’s time to dig it down. Honestly, this couldn’t be easier. Just dig a bit of a hole, ditch or whatever. Empty your bucket. Spread it out reasonably evenly and cover with soil.
It’s often a good idea to throw something heavy over the top for a couple of weeks, a metal grid, thick sheet of plastic, a couple of planks you have handy. Just in case the family dog gets curious or, if you live in wilder parts of the country, you have inquisitive foxes or badgers that like to have a poke around. Rats and mice are not generally attracted to bokashi due to the low pH, but if they are hungry enough they’ll find it, so just feel your way forward a bit on this one.
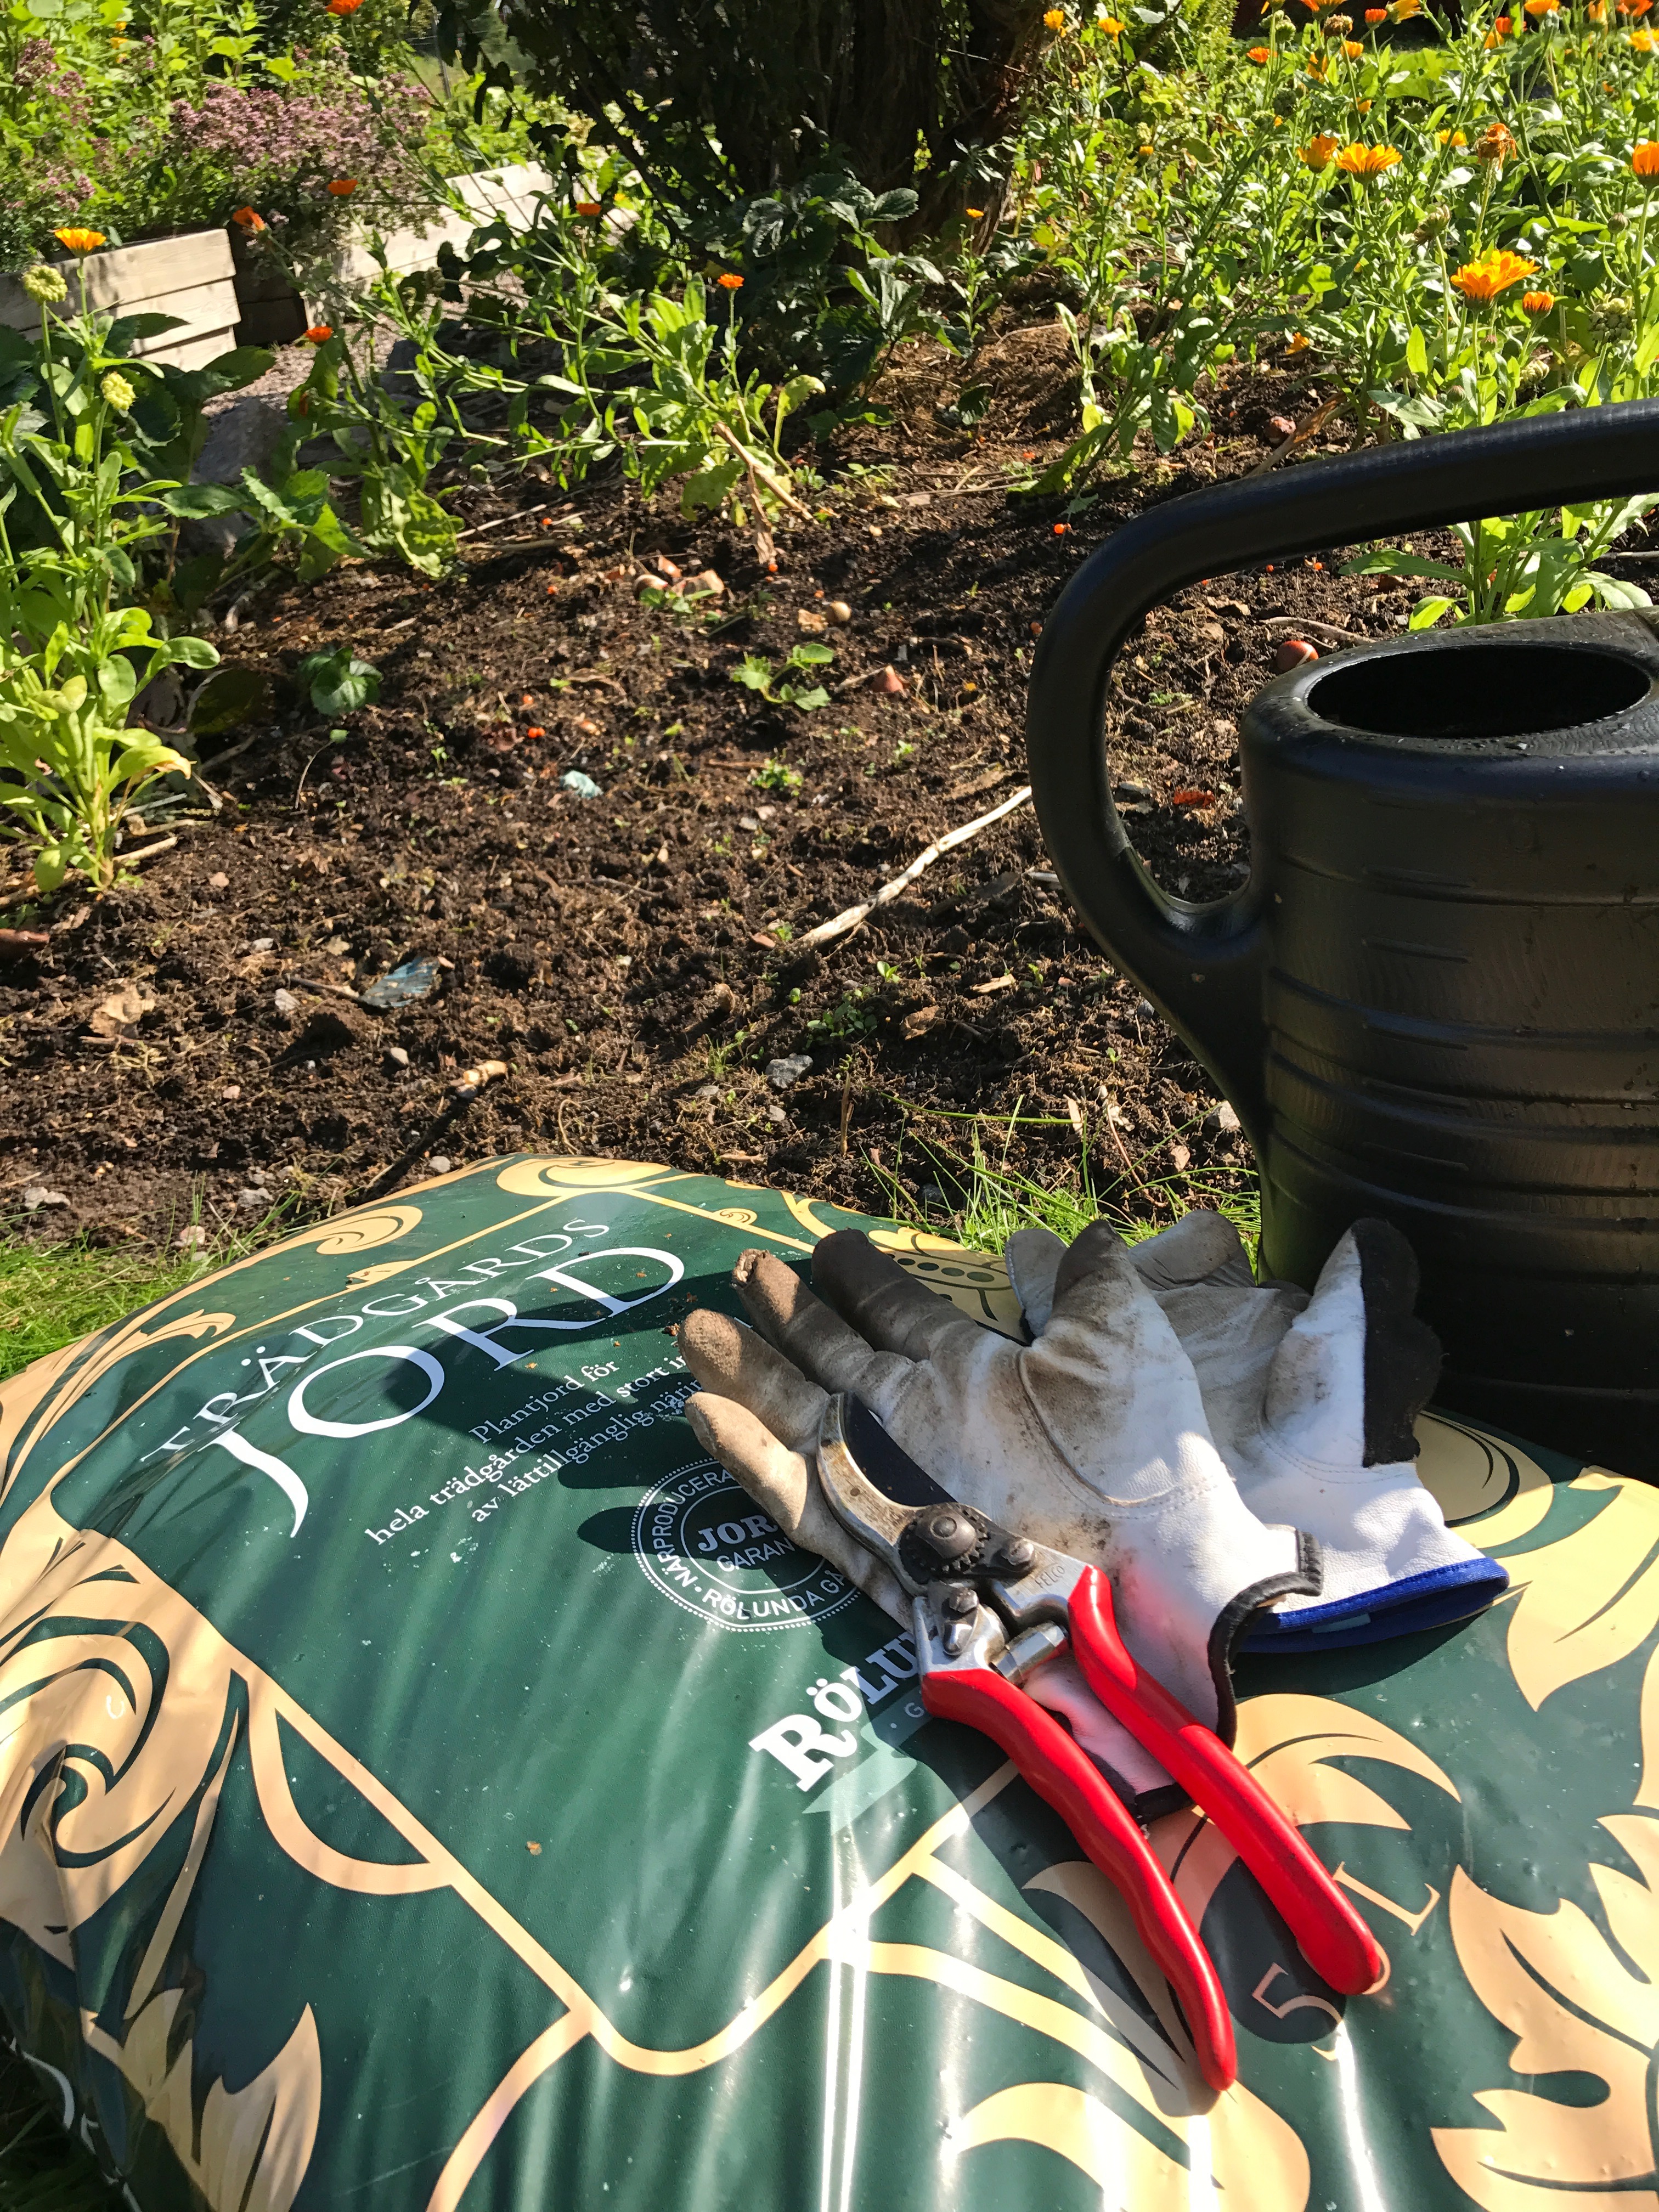
If you like, you can top up with a sack of garden center soil or soil from another part of the garden, whatever works best for you.
Then it’s time to plant! Just one rule here to observe, and that’s that plants shouldn’t come into direct contact with bokashi the first couple of weeks. It’s to do with the pH. Fresh bokashi is on the acidic side, too tough for most plant roots. After a couple of weeks the pH has neutralized (it will be the same as the rest of your soil, so you won’t end up with acidic soil) and the plants will be happy to be there. So wait a couple of weeks before planting. Alternatively, dig the bokashi down a bit deeper so that newly planted plants (or newly sown seeds) will take a couple of weeks to reach it.
Depth? Decide the depth you dig down your bokashi based on the needs of your plants. You want their roots to strive a bit for the nutrition, so lower rather than higher in the soil. Another reason for digging deeper, say 30-40 cm, is to make it less interesting for the dog, etc. But that can just as easily be prevented by laying something over the soil.
How long will it take for the bokashi to become soil? Four weeks is often a good guideline in a warmish climate. More like six to eight weeks in a Scandinavian spring or autumn, possibly as fast as two or three in a hot climate. The more you mix the bokashi with the soil when you dig it down, the faster it will go. And the smaller pieces you have in your bucket, the faster. But, really, it’s not a big deal. It will all be soil eventually. And even if you still have bits of food down there in the soil, your plants won’t mind. They can access the nutrients anyway.
SO. This is the basics. After you’ve done a bucket or two, you’ll get this. Then you can start finding a flow that suits you. The most important thing is to make it easy. Bokashi is something that should fit easily into everyday life, not make an already busy life even more stressful. Try a few different concepts for digging down your bokashi, have a go at a soil factory (it’s fun!) and see what works best for you at different times of year.
Bokashi is a really forgiving process. It’s pretty hard for it to go really wrong. And even if it does go a bit wrong, learn from your mistake, dig it into your garden anyhow and it will be soil in due course.
You’ll know it’s working because your plants will tell you. The difference in how they grow in really good soil, compared to how they grow in poor, lifeless soil, is really quite extreme. Most likely, you’ll just wonder why you didn’t start earlier!
READ MORE: Drain your scraps before they land in the bokashi bin!
READ MORE: Quick and easy soil factory

Love this article! Thanks Jenny. Good to know that the first part is like pickling the vegetables/leftover food.
Good that it came in useful! Good luck with your bokashi process there!
/Jenny
Thank you for this. Very clear. I have a question. Can you put your Bokashi waste into your compost bin (as long as you cover it?)
Absolutely. It tends to really kick-start a compost that’s not doing anything much. If it’s a loose compost of gardening waste you might want to try just lifting a bunch of it with a fork and emptying your bucket in there. Tramp around on the pile a bit so the bokashi gets packed in as tight as possible. Make sure none of it is exposed to the air.
It’ll always go faster if you toss in a bucket of soil or old compost, but if speed is not an issue then just take it as it comes.
If you have a hot compost which is hard to dig in, tip in the bokashi and add a bucket or two of garden soil or some other old and boring soil to the top. You don’t want more than 40 degrees in a bokashi-process so if your hot compost is really heating up it may kill off many of the bokashi microbes. Aeration tends to increase heat so try to avoid turning the pile if you’re adding bokashi, it works in a completely different manner, the job is done by the microbes not the heat. Whatever you do, you’re trying to imitate a hole in the ground, so think in those terms and you’ll be fine!
/Jenny
Hi Jenny,
What is your procedure for building a soil factory?
Thanks for the great article!
Deb
https://bokashiworld.blog/2009/09/12/make-your-own-soil-factory/
It’s an old blogg post and I’ll rewrite it some day but it’s still pretty valid and I just updated it a bit. Soil factory inside or out, whatever works for you. Charcoal is a great additive, absorbs moisture and nutrients.
Let the soil breathe! An old towel over the top, rather than a lid, is perfect. And always, a top layer of soil, some 10 cm is good. If you’re in a hurry, the trick is to chop up your food waste into small bits before it goes into the bin. And to mix the soil and food waste really well before topping off with soil. Don’t mess around with the soil factory while it’s doing it’s work. It feels like a useful thing to do, and actually it does speed up the process, but at the cost of the end result. Stirring in oxygen starts up an oxidation process, and that is a process that generates heat. Heat not only destroys our good microbes (if it goes over 40 degrees) but it also burns soil energy to generate that heat. Personally, I’d rather my plants got that energy later on in life so I choose to keep my soil factories “cold”. Bokashi just does it’s own thing, quietly, at a low temperature. The fun and games of generating heat are for the traditional put-it-in-a-pile hot composting guys!
Good luck!
/Jenny
Dear Jenny, just dug in my first bucket and am so tickled. It had that sauerkraut smell so I am confident it turned out right. Thankyou so much for your guidance. I have been obsessively reading your posts. Love from a tiny garden in Berlin, Germany/ Lisa
Cool! Then you’re doing it all right, well done! So happy to hear the posts are helpful, thanks 🙂 /Jenny
Can the soil making part be done in a regular outdoor composter? rather than buried?