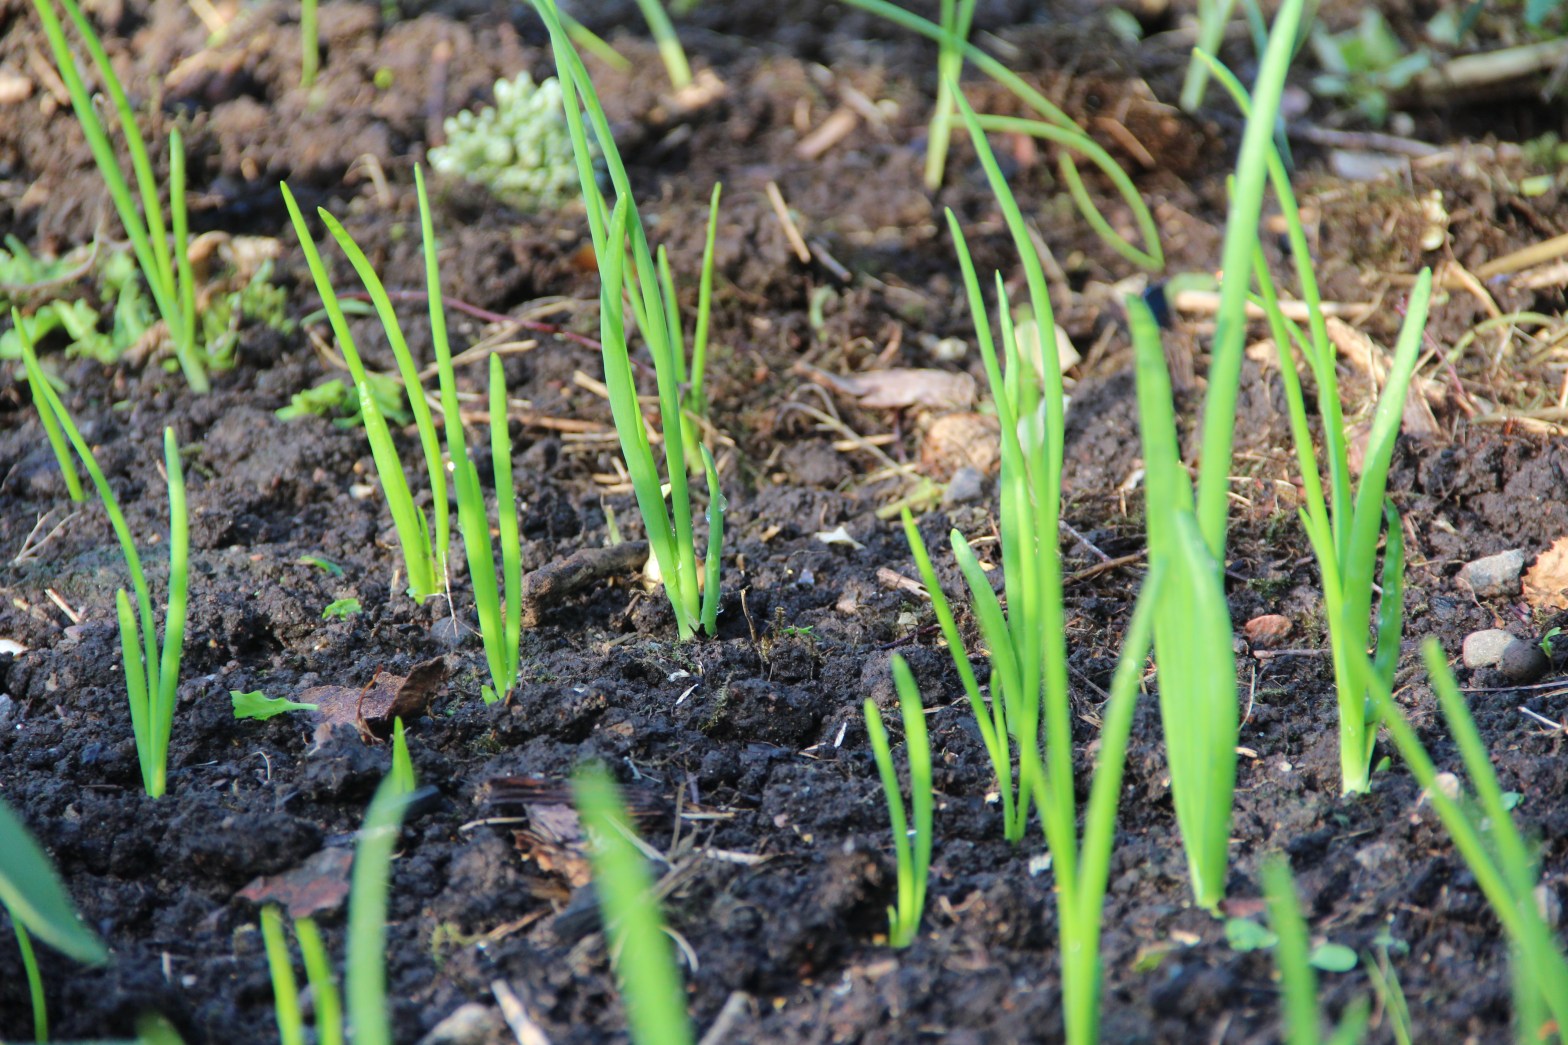
So, back to the process. You’ve dug down your bokashi and you’re ready to plant your garden. How and when?
Rule of thumb: don’t let roots get in contact directly with bokashi the first two weeks it’s dug down.
The reason is not that the bokashi is too strong, the plants can handle that, it’s because it’s too acidic.
Acidity will disappear
When your bokashi is ready-fermented in the bucket it has a pH of 3.5-4 which is pretty low. Too low for most plants.
But it only takes a couple of weeks for the pH to adapt to the surrounding soil, and the acidity will quickly disappear.
The surrounding soil doesn’t become more acidic, so there’s no problem with that. But as the fermented food waste starts its process of becoming soil it also becomes less acidic, and before you know it, it has a pH of 6.5-7 or whatever the soil around it has.
For this reason, it’s best to hold off with planting when you’ve dug down your bokashi. Wait two weeks. Even if the food waste has not disappeared (it may take up to six weeks depending on the soil temperature) the plants will be happier to avoid this pH transition period.
On the other hand, if you’ve dug down your bokashi a bit deeper than the plants you’re putting in and reckon that they won’t grow to reach the bokashi for another couple of weeks, you can go ahead and plant immediately over fresh bokashi.
By the time the roots reach the actual bokashi in the soil, the pH should already have sorted itself out and the plants will start to access the nutrients directly.
They can do this even if the bokashi hasn’t yet become soil; this is because the work done by the microbes has already made the energy and nutrients available by breaking up the inaccessible proteins into smaller component parts like amino acids.
The same applies if you want to sow seeds over freshly dug-down bokashi. The seeds will take a while to grow, and presumably at least a couple of weeks have passed before they reach the level in the soil where the bokashi available.
That’s also smart, because new seedlings shouldn’t have too many nutrients until they are established, and you want to encourage them to grow long, strong roots; work a bit hard for their food basically.
How long does bokashi take to become soil?
This depends on two things: soil temperature and soil contact. Bokashi can become soil in a couple of weeks with optimal conditions. In other words, that the soil is warm and that the bokashi is well-mixed into the soil.
But it’s not a race, and bokashi will always become soil remarkably quickly whatever the conditions, so this thing with speed is only really important if you want to have soil that looks like soil for some reason, such as repotting indoor plants or seedlings.
As mentioned earlier, even if your bokashi has not yet become soil your plants can take up everything they need from it, provided it’s had those two important weeks to stabilize the pH level.
A soil that’s not yet warm enough to plant potatoes in (8 degrees C, say) will need 4-6 weeks to digest bokashi. A soil that’s colder than this may take longer, if you’re heading into winter soil temperatures you should count on nothing much happening at all until the soil warms up again.
See it simply as storage for your bokashi, it’s out of your way and not doing any harm, neither is it losing energy or nutrients during the wait as these are locked up in the bokashi itself.
By contrast, a warm summer soil, or soil in a more tropical country than Sweden, can easily convert bokashi to soil in a couple of weeks.
In a colder climate you can speed up the process by warming the soil. Lay some black plastic over the patch where you dug down your bokashi, a garbage bag anchored with some rocks or planks is perfect. Fiber cloth is also good, it heats the soil underneath, which will in turn activate your process.
This is especially good in the spring, when we’re often in a hurry to get the soil prepared for planting. If you’ve had a thick layer of mulch over your beds during the winter, scrape it aside for a couple of weeks to help the ground warm up, you can always return it later.
Single hole or trench?
Another question is how to arrange your bokashi in the soil. Dig the contents of the whole bucket into a single hole or spread the bokashi out across a broader area?
Depends mainly on what you’re going to plant. If you are planning to plant a bush or tree or heavy-duty perennial a bokashi hole may be be best. Take your spade and mix the bokashi and soil as much as possible though, chop up any biggish pieces, and see to it that everything is coated with as much soil as possible.
If you’re going to plant a bed of annuals or tightly-spaced vegetables, it would make more sense to spread your bokashi over a wider surface. Remove an appropriate layer of soil, empty the contents of your bokashi bin and spread them evenly, then rake or shovel back the soil layer again.
If the soil covering is on the thin side, protect it with a layer of plastic or fiber cloth to hinder any unwanted visitors for a week or two.
If you’re planning to plant rows of beans or other vegetables, you would probably be better off digging trenches and filling them with your bokashi.
Same procedure though, chop and mix with soil before covering again. Think about the depth you’d like your beans or whatever to find the bokashi stockpile — you want the plants to work a bit to find their food (and so develop nice strong roots) but not miss out completely because the food supply is too deep.
You may also choose to dig your bokashi hole in a spot where you have space and later, when you have more space in the bed, to dig up and spread the new soil over a larger area.
In the end, it’s all common sense really — just do what works, and don’t be afraid to experiment.

2 thoughts on “06. Time to plant!”