
Here in Sweden the ground is frozen half the year. Which doesn’t necessarily make life easy when it comes to gardening. Or much else for that matter.
When it comes to Bokashi, we store ours up in barrels for the spring. Some goes straight into the insulated compost but most we put on stock — it’s just what’s needed when the ground thaws and the birds start to sing.
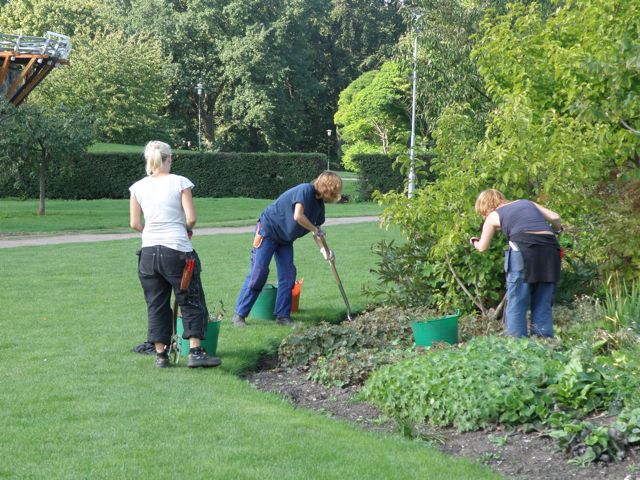
But pretty much everywhere else you don’t have this problem. In Australia and New Zealand where I have family and friends, it’s just to get out there with a shovel and dig a hole or a trench and in with the lot. Then just sit back and wait for the worms to arrive for the feast and the plants to really live up.
Digging a hole/trench takes like five minutes, you hose out your bucket then you’re done. Not a big deal actually and very soon it becomes part of day to day life. It’s not messy. And it’s not smelly.
But it’s not always so easy to get going the first couple of times, so here’s a couple of things I’ve learnt along the way.
1. You need space to dig. A veggie patch before you plant it is ideal. As is a garden bed that’s being prepared for annuals. It’s not easy to dig in Bokashi in and around perennials unless you have a lot of space spare. It’s the perfect way to start up a new garden bed, spend some time preparing the soil in advance and you’ll have pleasure from it for many years.
2. It’s worth digging deeper rather than shallower. A good few centimetres of soil are needed over your Bokashi, partly so it can do its work anaerobically and partly to keep out nosy animals. We have a dog here who loves to dig for Bokashi, and also a number of passing deer who don’t mind rooting around a bit. Actually it’s quite good for them, probiotic in effect, but all the same I’d rather my plants got it.
3. Trenches are more practical than holes. If you have the space, dig a shallow trench and spread the Bokashi out in it. That way your Bokashi layer is less compact and will become soil faster and you spread out the nutrition in the soil so more plants can get at it. And you don’t have to dig so deep!
4. Give the Bokashi a bit of a hack before you cover it over. The more soil contact it has and the smaller the pieces, the faster it will convert to soil. You’ve got your spade in your hand anyhow, just hack a bit so the Bokashi is mashed in with the soil.
5. Wait a couple of weeks before you plant into it. The pH level in Bokashi is quite low and your plants won’t like it until it neutralises. Too much of a good thing and all that…
6. Bokashi can feed from the side. Dig mini trenches between rows of veggies or between perennials, bushes and the like. That way you keep it out of direct contact with the roots but the goodness will spread into their root zone in due course. Not to mention the worms and the microbes which will set up camp for everyone’s benefit.
So there you have it, the art of digging, part one. Thought I’d do another round later on the art of digging if you don’t have a great big garden — there are some brilliant solutions involving underground compost holes that work perfectly in town houses!

Hey, nice tips. I’ll buy a glass of beer to the man from that forum who told me to visit your blog 🙂
I’m very impressed too